
Image Source: www.pintyplus.co.uk
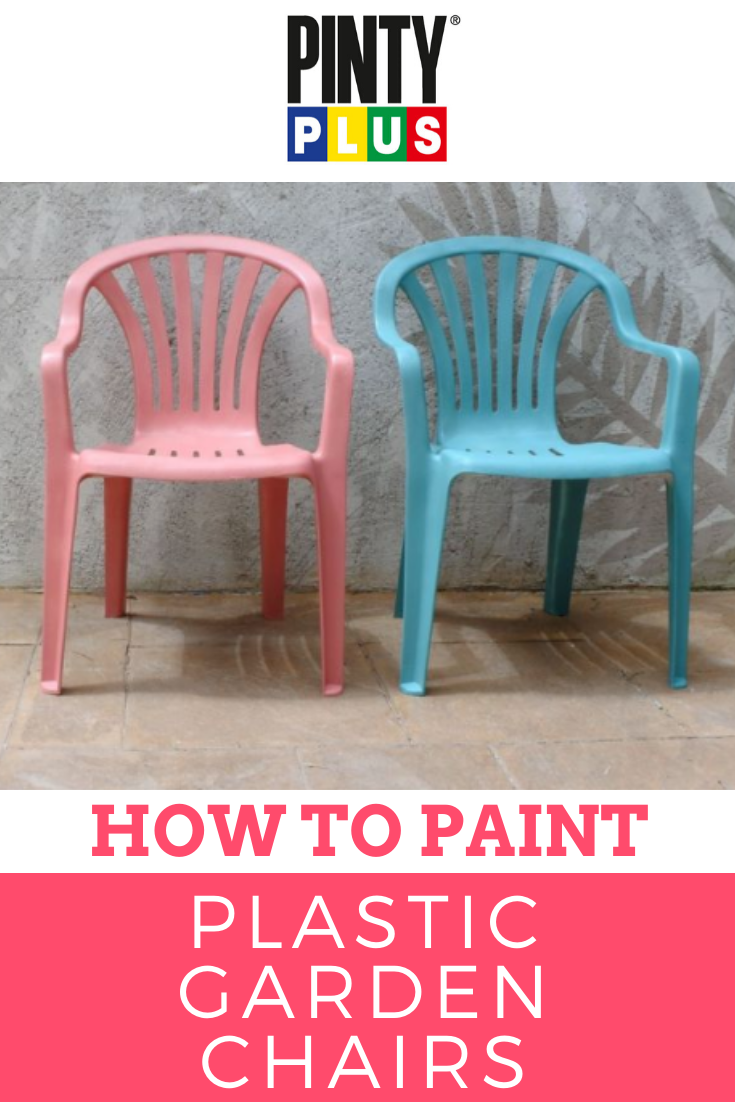
How To Paint Plastic Garden Chairs Easily: A Pro’s Quick Guide
Yes, you can absolutely paint plastic garden chairs! With the right preparation and materials, you can give your tired outdoor seating a stunning new look. This guide will walk you through everything you need to know for a successful DIY plastic chair makeover.
Plastic garden chairs are a popular choice for their durability and affordability. However, over time, they can become faded, scratched, or simply outdated in color. Instead of buying new ones, why not give your existing chairs a fresh coat of paint? This is a fantastic way to breathe new life into your patio or garden. The process might seem daunting, but it’s quite straightforward. You’ll be surprised at how a little bit of effort can lead to a big transformation. This guide is your go-to resource for achieving professional-looking results right at home. We’ll cover everything from selecting the right paint to the final touches.
Getting Started: Essential Supplies for Plastic Chair Painting
Before you grab your paintbrush, it’s crucial to gather the right tools and materials. Having everything ready makes the painting process much smoother and more enjoyable. Think of this as your checklist for a successful plastic chair restoration.
The Must-Have Items:
- Cleaning Supplies:
- Mild dish soap
- Bucket
- Soft cloths or sponges
- Hose or pressure washer (optional, for stubborn dirt)
- Sanding Materials:
- Fine-grit sandpaper (120-220 grit) or sanding sponge
- Tack cloth or lint-free cloths
- Primer:
- A high-quality spray primer specifically designed for plastic or multi-surface use. This is key for good adhesion.
- Paint:
- Spray paint formulated for plastic or outdoor furniture. This is often the best paint for plastic furniture as it provides an even finish and good coverage.
- Protective Gear:
- Gloves
- Safety glasses or goggles
- Respirator or mask (especially for spray painting)
- Work Area Protection:
- Drop cloths or old newspapers
- Optional but Recommended:
- Painter’s tape (for detailed work or to protect specific areas)
- Scrub brush (for tougher grime)
Step-by-Step: The Art of Plastic Chair Prep
Proper plastic chair prep is the most important step for a long-lasting paint job. Skipping this can lead to paint peeling or chipping down the line. We want our plastic chair painting tips to lead to a durable finish!
1. How to Clean Plastic Chairs Before Painting: The Foundation of a Great Finish
This is where we tackle dirt, grime, and mildew. Clean chairs mean better paint adhesion.
- Initial Wash: Mix mild dish soap with warm water in a bucket. Use a soft cloth or sponge to scrub down the entire chair. Pay attention to crevices and areas where dirt tends to build up.
- Stubborn Stains: For tougher spots, a soft-bristled scrub brush can be helpful. You might also consider a 50/50 mix of white vinegar and water for a more natural cleaning solution, especially for mildew.
- Rinsing: Thoroughly rinse the chair with a hose or clean water. Ensure all soap residue is gone.
- Drying: Let the chairs air dry completely. You can speed this up by wiping them down with clean, dry cloths. Make sure there’s no moisture left, especially in any seams or textured areas. A day in the sun is ideal.
2. Light Sanding: Creating a Surface for Paint to Grip
Sanding might seem counterintuitive for plastic, but it’s essential for creating a slightly rough surface that the primer and paint can adhere to effectively. This is a crucial part of plastic chair prep.
- Sanding Material Choice: Use fine-grit sandpaper (around 120-220 grit) or a sanding sponge. Avoid coarse sandpaper, as it can scratch the plastic too deeply.
- The Technique: Lightly sand all surfaces you intend to paint. The goal isn’t to remove the plastic, but to scuff it up just enough. You’re looking for a dull, matte finish rather than a shiny one.
- Cleaning Up Dust: After sanding, wipe down the entire chair with a damp cloth or tack cloth to remove all the dust. This is vital! Any remaining dust will interfere with paint adhesion.
Priming for Perfection: The Secret to Durable Paint
Priming is not optional when painting plastic. It acts as a bridge between the plastic surface and your topcoat, ensuring the paint sticks well and lasts. This is a key plastic chair painting tip.
Why Prime Plastic Garden Furniture?
- Adhesion: Plastic is often smooth and non-porous, making it difficult for paint to stick directly. Primer creates a surface that paint can grab onto.
- Coverage: Primer can help block any old colors or stains from showing through your new paint.
- Durability: A good primer makes the entire paint job more resistant to chipping and peeling, contributing to durable plastic chair paint.
Choosing and Applying Primer:
- The Best Primer: Look for a spray primer specifically labeled for use on plastic or a multi-surface primer. These are formulated to bond with challenging surfaces.
- Application:
- Ensure the chair is clean and dry.
- Work in a well-ventilated area, wearing your protective gear.
- Hold the spray can about 8-12 inches away from the surface.
- Apply thin, even coats. Avoid applying too much at once, as this can cause drips.
- Allow each coat to dry according to the manufacturer’s instructions before applying the next. Usually, two thin coats are sufficient.
- Lightly sand between coats with very fine-grit sandpaper (220-320 grit) if the surface feels rough, then wipe clean with a tack cloth.
Selecting the Best Paint for Plastic Furniture
Now for the fun part – choosing your color! But the type of paint is just as important as the color.
What is the Best Paint for Plastic Furniture?
The best paint for plastic furniture is typically a spray paint specifically designed for plastics or a durable outdoor enamel. These paints are formulated to be flexible, adhere well to plastic, and withstand outdoor conditions.
Types of Paint to Consider:
- Spray Paint for Plastic: This is hands-down the easiest and most effective option for spray painting plastic chairs. They are designed for a smooth, even finish and adhere well to plastic surfaces. Brands like Krylon Fusion for Plastic and Rust-Oleum Painter’s Touch 2X Ultra Cover are excellent choices. They often don’t require a separate primer, though a dedicated primer will still enhance durability.
- Outdoor Enamel Paint: If you prefer brush-on application, an outdoor enamel paint is a good choice. However, achieving a smooth, even finish on plastic with a brush can be more challenging. You’ll still need a specialized plastic primer for best results.
Paint Finishes:
- Matte: Offers a subtle, non-reflective look.
- Satin: Has a slight sheen, making it easy to clean.
- Gloss: Provides a high-shine, reflective finish.
Consider the look you want and how easy you need the chairs to be to clean when choosing your finish.
The Painting Process: Spray Painting Plastic Chairs
Spray painting plastic chairs offers the most professional and seamless finish. It’s the quickest way to get even coverage.
Techniques for Smooth Application:
- Ventilation is Key: Work outdoors or in a well-ventilated garage. Wear a respirator or mask to avoid inhaling fumes.
- Protect Your Area: Lay down drop cloths or old newspapers to protect the ground or surrounding surfaces from overspray.
- Shake It Up: Shake the spray can vigorously for at least one to two minutes before and during use.
- Test Spray: Do a test spray on a piece of scrap cardboard or an inconspicuous area of the chair to get a feel for the spray pattern and distance.
- The Spraying Motion:
- Hold the can about 8-12 inches from the surface.
- Move the can in a steady, sweeping motion, either horizontally or vertically.
- Overlap each pass by about 50% to ensure full coverage and avoid streaks.
- Keep the can moving continuously while spraying. Starting and stopping on the chair can lead to uneven application and drips.
- Thin Coats are Best: Apply multiple thin coats rather than one thick coat. This allows for even drying and prevents drips and runs.
- Drying Time: Allow each coat to dry completely according to the manufacturer’s instructions before applying the next. This can range from 15 minutes to several hours, depending on the product and humidity.
- How Many Coats?: Typically, 2-3 thin coats of paint are sufficient for good coverage. You might need an extra coat for very light colors over dark plastic.
- Paint Between Coats: Some paints benefit from a light sanding with very fine sandpaper (220-320 grit) between coats to improve adhesion, but always check the product instructions. If you do sand, wipe down with a tack cloth afterward.
Top Coats and Sealing: Adding Extra Protection
While many outdoor plastic furniture paint options are durable on their own, a clear topcoat can offer an extra layer of protection and extend the life of your paint job.
When to Use a Topcoat:
- UV Protection: A clear UV-resistant topcoat can prevent fading from sun exposure.
- Scratch Resistance: It adds an extra barrier against everyday wear and tear.
- Enhanced Durability: This is especially important for furniture that will be heavily used.
Applying a Topcoat:
- Choose Wisely: Opt for a clear spray sealant or varnish designed for outdoor use and compatible with your paint. A satin or matte finish will maintain the look of your base coat.
- Application: Apply the topcoat using the same spray painting techniques as you did for the primer and paint. Usually, one or two thin coats are enough.
- Curing Time: Allow the topcoat to cure fully, which can take several days. Avoid heavy use of the chairs during this period.
DIY Plastic Chair Makeover: Creative Ideas and Tips
Transforming your old plastic chairs is a rewarding project. Here are some additional plastic chair painting tips to make your DIY plastic chair makeover even more impressive.
Color Choices:
- Bright and Bold: Inject personality with vibrant colors like turquoise, coral, or sunny yellow.
- Classic Neutrals: Opt for sophisticated shades of grey, beige, or navy for a timeless look.
- Two-Tone: Paint the legs one color and the seat/back another for a stylish contrast.
- Pattern Play: Use painter’s tape to create stripes, geometric patterns, or even stencil designs.
Advanced Techniques:
- Distressed Look: After the paint has fully cured, lightly sand some edges or high-wear areas to create a charming distressed or vintage effect.
- Metallic Accents: Use metallic spray paints for legs, armrests, or decorative details.
Maintaining Your Painted Chairs:
- Regular Cleaning: Wipe down your chairs periodically with a damp cloth and mild soap to remove dirt and debris.
- Touch-Ups: Keep a small amount of your paint color on hand for any minor touch-ups that might be needed over time.
- Winter Storage: If you live in a climate with harsh winters, consider storing your painted chairs indoors to protect them from extreme temperatures and moisture.
Troubleshooting Common Painting Problems
Even with the best intentions, you might encounter a few snags. Here’s how to fix them.
| Problem | Cause | Solution |
|---|---|---|
| Drips & Runs | Paint applied too thickly, or can held too close. | Wipe away the drip while the paint is still wet using a clean cloth. If dry, let it dry completely, sand the area smooth, wipe clean, and reapply thin coats. |
| Uneven Finish | Inconsistent spraying distance or speed. | Allow the area to dry completely, then lightly sand and reapply thin, even coats, ensuring consistent motion and overlap. |
| Poor Adhesion | Inadequate cleaning or sanding, wrong paint. | If peeling is minor, try lightly sanding the affected area and reapplying with proper prep and primer. If widespread, you may need to strip the paint and start over with thorough prep. Always use a plastic-specific primer. |
| Orange Peel | Paint drying too quickly, or can too far away. | This is a texture that looks like the skin of an orange. Try holding the can closer and moving faster. If already present, let it dry, sand it down, and reapply. |
| Lack of Coverage | Insufficient coats, or paint not mixed well. | Ensure you shake the can thoroughly. Apply additional thin coats until coverage is satisfactory. |
Frequently Asked Questions (FAQ)
Here are some common questions people have about painting plastic garden chairs.
Q1: Do I really need to prime plastic furniture?
A1: Yes, it is highly recommended. Primer helps the paint adhere properly to the smooth plastic surface, preventing peeling and ensuring a durable finish. Even paints labeled “no-prime” will often adhere better and last longer with a dedicated plastic primer.
Q2: What is the best spray paint for plastic chairs?
A2: Look for spray paints specifically formulated for plastic or multi-surface spray paints with good adhesion properties. Brands like Krylon Fusion for Plastic or Rust-Oleum Painter’s Touch 2X Ultra Cover are excellent choices.
Q3: Can I use regular outdoor paint on plastic chairs?
A3: While some exterior latex or enamel paints might adhere with a specialized plastic primer, spray paints formulated for plastic are generally easier to use and provide a more even finish on this material. Using regular paint without the correct preparation can lead to poor adhesion and chipping.
Q4: How long does the paint job last?
A4: With proper preparation, priming, painting, and a clear topcoat, your painted plastic chairs can last for several years. Durability also depends on the quality of the products used and exposure to harsh weather conditions.
Q5: Can I paint a dark plastic chair a very light color?
A5: Yes, but you may need more coats of primer and paint to achieve opaque coverage. Consider using a white primer specifically for plastic, followed by several thin coats of your light-colored paint.
Q6: How do I get a smooth finish when spray painting?
A6: The key is thin, even coats. Hold the can 8-12 inches away, use a steady, sweeping motion, and overlap each pass by about 50%. Avoid holding the can too close or spraying too much at once, which causes drips and unevenness.
By following these steps, you can achieve a beautiful and long-lasting finish on your plastic garden chairs, giving your outdoor space a refreshed and vibrant look. Enjoy your newly painted seating!