
Can you flush a car radiator with a garden hose? Yes, you can flush a car radiator with a garden hose as a basic cleaning method, especially if you’re looking to remove loose debris and some of the old coolant. However, it’s important to know that this method is generally less effective than using specialized radiator flush chemicals or professional equipment for a thorough cleaning.
Keeping your car’s cooling system in top shape is crucial for preventing overheating and costly engine damage. One essential part of this is performing a radiator coolant flush. While many people opt for professional service, you can perform this task yourself with some basic tools and a bit of know-how. This guide will walk you through how to flush a radiator with a garden hose, offering an accessible method for car radiator cleaning and essential automotive cooling system maintenance.
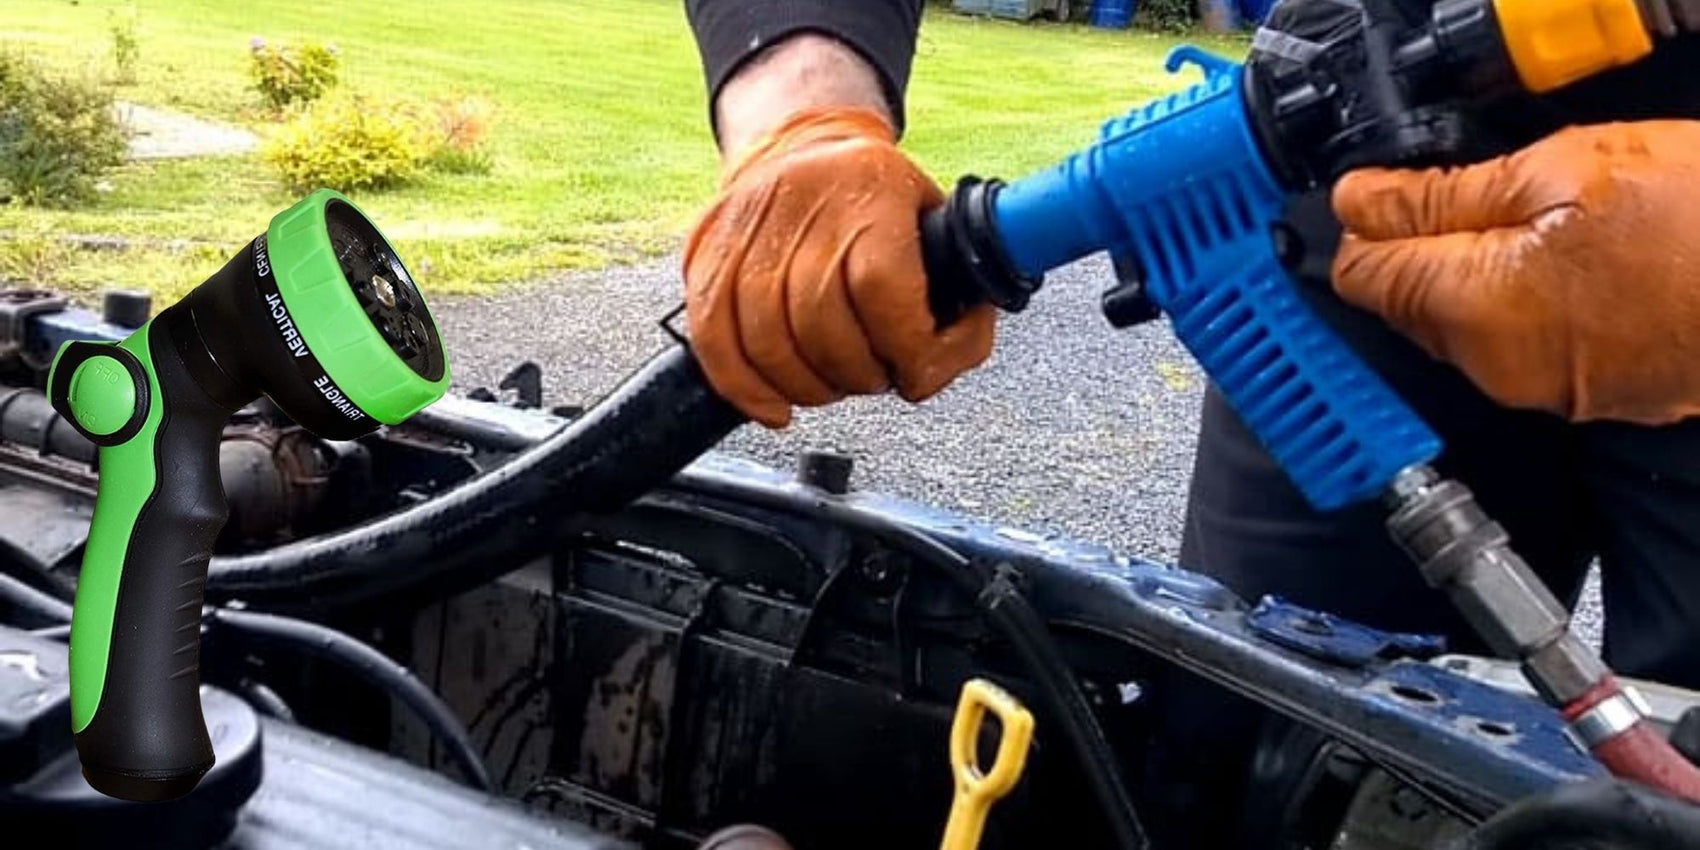
Image Source: royalhousegarden.com
Why Flush Your Radiator?
Over time, the coolant in your car’s radiator degrades. It can become dirty, filled with rust, scale, and other particles. This buildup can clog the radiator and other parts of the cooling system, reducing their ability to dissipate heat. This leads to your engine running hotter than it should, which can cause serious problems.
A radiator coolant flush helps remove these contaminants. It’s like giving your engine’s internal plumbing a good cleaning. By flushing out the old, dirty coolant and replacing it with fresh radiator coolant, you ensure optimal performance and longevity for your engine.
When Should You Flush Your Radiator?
The frequency of a radiator coolant flush depends on a few factors:
- Manufacturer Recommendations: Always check your car’s owner’s manual. Most manufacturers recommend a flush every 30,000 to 50,000 miles or every 2 to 5 years.
- Coolant Condition: If you notice the coolant looks murky, rusty, or has particles floating in it, it’s time for a flush, even if you haven’t reached the recommended mileage.
- Overheating Issues: If your car is consistently running hot, a clogged radiator or dirty coolant could be the culprit. A flush might resolve the issue.
- New Water Pump or Thermostat: It’s good practice to flush the system whenever major cooling system components are replaced.
Tools and Materials You’ll Need
Before you start, gather these items:
- Garden Hose: A standard garden hose is all you need for this method.
- Bucket: A large bucket (at least 5 gallons) to catch the old coolant.
- Pliers: For removing hose clamps.
- Screwdriver: If your hose clamps use screws.
- New Coolant: The correct type and mixture for your vehicle. Check your owner’s manual.
- Distilled Water: For mixing with concentrate coolant and for rinsing.
- Gloves: To protect your hands from coolant.
- Safety Glasses: To protect your eyes.
- Rags or Towels: For cleaning up spills.
- Optional: Funnel: For adding new coolant.
Safety First!
Working on your car’s cooling system involves hot fluids and potential hazards. Always prioritize safety:
- Engine Cool Down: Ensure the engine is completely cool before you start. Hot coolant can cause severe burns.
- Protective Gear: Wear safety glasses and gloves.
- Proper Disposal: Old coolant is toxic. Never pour it down a drain or onto the ground. Take it to an auto parts store or recycling center for proper disposal.
- Ventilation: Work in a well-ventilated area.
Step-by-Step: How To Flush A Radiator With A Garden Hose
This process involves draining the old coolant, flushing the system with water, and then refilling it with new coolant. We’ll be focusing on a basic flush using a garden hose.
Step 1: Prepare the Vehicle
- Park on a Level Surface: This ensures you can drain as much coolant as possible.
- Ensure the Engine is Cool: As mentioned, this is critical for safety. Touch the hood or a metal part of the engine bay – if it’s warm, wait longer.
Step 2: Locate and Remove the Radiator Cap
- Find the Radiator Cap: It’s usually on the top of the radiator.
- Never Open When Hot: Even if the engine feels cool, there might still be residual pressure. Wait until it’s completely cool.
- Press and Turn: Push down on the cap and turn it counter-clockwise to remove it. If it’s stuck, a cloth can help you get a better grip.
Step 3: Drain the Old Coolant
This is where you’ll remove the bulk of the old radiator coolant.
Option A: Draining from the Radiator Drain Plug (Recommended)
Many radiators have a drain plug at the bottom.
- Locate the Drain Plug: It’s usually a plastic or metal petcock valve at the very bottom of the radiator.
- Position the Bucket: Place your large bucket directly underneath the drain plug.
- Open the Drain Plug: Turn the petcock counter-clockwise. Some older vehicles might have a screw-type plug that requires a screwdriver.
- Let it Drain: Allow all the old coolant to drain into the bucket. This can take several minutes.
- Close the Drain Plug: Once it’s empty, turn the petcock clockwise to close it. If it’s a screw-type, tighten it securely but don’t overtighten.
Option B: Draining from a Radiator Hose
If your radiator doesn’t have a drain plug, you’ll need to disconnect a hose. The lower radiator hose is typically the best choice as it’s at the lowest point.
- Locate the Lower Radiator Hose: This hose connects the bottom of the radiator to the engine.
- Position the Bucket: Place the bucket under the hose connection.
- Loosen the Hose Clamp: Use pliers to squeeze the spring clamp and slide it back along the hose, or use a screwdriver if it’s a screw-type clamp.
- Disconnect the Hose: Gently twist and pull the hose off the radiator fitting. Be prepared for coolant to come out immediately.
- Allow to Drain: Let all the old coolant drain into the bucket.
- Reconnect the Hose: Once drained, slide the hose back onto the radiator fitting and slide the hose clamp back into its original position to secure it.
Step 4: Flush the System with Water
Now it’s time to rinse out the remaining old coolant and any loose debris. This is the core of the radiator flush process using a garden hose.
- Reconnect Everything: Make sure the radiator drain plug is closed or the lower radiator hose is securely reconnected.
- Connect the Garden Hose: Place the end of your garden hose into the radiator filler neck (where you removed the cap). You might need to hold it there or have someone help.
- Open the Water Source: Turn on the water from your faucet.
- Let Water Run Through: Allow the water to flow into the radiator. As water enters, it will push the remaining old coolant out through the lowest point of the system. This might be the same drain plug you opened, or if you disconnected the hose, it will come out there. You’ll see dirty water flowing out.
- Monitor the Water: Continue flushing until the water running out is clear. This can take several minutes. This step is crucial for a good engine coolant flush.
- Turn Off Water: Once the water runs clear, turn off the water supply.
- Remove the Hose: Take the garden hose out of the radiator.
Step 5: Drain the Flushing Water
Now you need to get the plain water out before adding new coolant.
- Position the Bucket: Place your bucket under the radiator drain plug or the disconnected hose fitting.
- Open the Drain Plug/Disconnect Hose: Open the drain plug or loosen the clamp on the lower radiator hose and remove it again.
- Let Water Drain: Allow all the water to drain out.
- Close Drain Plug/Reconnect Hose: Close the drain plug or reconnect the lower radiator hose and secure the clamp.
Step 6: Refill the System with New Coolant
This is the final and most important step for effective drain and fill radiator service.
- Check Coolant Type: Ensure you have the correct type and mixture of coolant for your vehicle. Most often, it’s a 50/50 mix of antifreeze and distilled water. If you bought concentrate, you’ll need to mix it with distilled water.
- Slowly Add New Coolant: Using a funnel or carefully pouring from the container, slowly add the new coolant mixture into the radiator filler neck.
- Fill to the Line: Fill the radiator until the coolant level reaches the “full” mark or the neck of the radiator.
- Fill the Reservoir: Locate the coolant reservoir (usually a translucent plastic tank) and fill it to the “cold fill” or “min” line.
- Replace Radiator Cap: Put the radiator cap back on securely.
Step 7: Bleed the Radiator
This step is vital to remove any air pockets trapped in the system. Air pockets can cause overheating. This is known as bleeding radiator.
- Start the Engine: Start your car’s engine.
- Turn on the Heater: Turn your car’s heater on to its highest setting and the fan to low. This opens up the heater core, allowing coolant to circulate through it.
- Watch the Temperature Gauge: Keep an eye on the engine temperature gauge.
- Look for Air Bubbles: As the engine warms up and the thermostat opens, you might see bubbles escaping from the radiator filler neck or the bleeder screw (if your car has one – consult your manual).
- Add Coolant if Needed: If the coolant level in the radiator drops as air escapes, add more coolant mixture to keep it full.
- Continue Until Warm: Let the engine run until it reaches its normal operating temperature. The cooling fan should cycle on and off a couple of times.
- Check for Leaks: While the engine is running, check all the hose connections and the drain plug for any leaks.
- Turn Off the Engine: Once the engine has reached operating temperature and the fans have cycled, turn off the engine.
- Allow to Cool: Let the engine cool down completely.
- Recheck Coolant Levels: Once cool, recheck the coolant level in both the radiator and the reservoir and top them off if necessary.
Important Considerations for Your radiator coolant flush
- Two-Flushes for Stubborn Grime: If the water still looks dirty after the first flush, you might need to repeat the flushing process.
- Radiator Flush Chemicals: For heavily corroded or clogged systems, a dedicated radiator flush chemical added during the flushing step can be more effective. Follow the product’s instructions carefully.
- Thermostat: The thermostat needs to open for the entire system to be flushed effectively. Running the engine with the heater on helps ensure this.
- Heater Core: The heater core is part of the cooling system. Flushing with water and then new coolant should help clear it as well.
Alternative Methods for a Thorough flush cooling system
While a garden hose flush is a good basic clean, consider these for a more comprehensive approach:
Using a Flush Kit
Radiator flush kits are available at auto parts stores. They typically connect to your garden hose and a water source and have a mechanism to introduce a flushing chemical and then flush it out with water. This can be more efficient.
Reverse Flushing
This method involves connecting a hose to the radiator outlet and flushing water backward through the system. This can dislodge stubborn debris more effectively. However, it requires a bit more ingenuity with hose connections and might not be suitable for all vehicles.
Professional Service
For the most thorough car radiator cleaning and automotive cooling system maintenance, a professional shop has specialized equipment that can flush the system under pressure and ensure all old coolant and debris are removed.
Common Problems and Troubleshooting
- Leaking Radiator Hose Connection: If you find a leak after reconnecting a hose, ensure the clamp is tight and properly positioned. Sometimes, the hose itself might be degraded and need replacement.
- Engine Not Heating Up Properly After Flush: This could indicate an air pocket still in the system. Repeat the bleeding radiator process.
- Overheating Persists: If overheating continues after a flush, the issue might be more than just dirty coolant. Consider a faulty thermostat, water pump, or clogged radiator fins.
Frequently Asked Questions (FAQ)
Q1: How often should I flush my car’s radiator?
A1: Generally, every 30,000 to 50,000 miles or every 2 to 5 years, but always check your owner’s manual for specific recommendations.
Q2: Can I use tap water to flush my radiator?
A2: It’s best to use distilled water for the final rinse and when mixing new coolant. Tap water can contain minerals that may leave deposits in your cooling system.
Q3: What happens if I don’t flush my radiator?
A3: Old coolant can degrade, leading to corrosion, sludge buildup, and potential blockages in the radiator and other cooling system components. This can cause your engine to overheat and lead to expensive repairs.
Q4: Is it safe to flush my radiator with the engine hot?
A4: Absolutely not. Always wait for the engine to cool down completely to avoid severe burns from hot coolant and to prevent thermal shock to the engine components.
Q5: What is the correct coolant mixture?
A5: Most vehicles require a 50/50 mixture of antifreeze and distilled water. However, check your owner’s manual for the specific type and ratio recommended for your car.
Q6: How do I know if my radiator is clogged?
A6: Signs of a clogged radiator include the engine running hotter than normal, reduced heating performance in the cabin, and sometimes visible leaks or corrosion around the radiator.
By following these steps, you can effectively perform a basic radiator coolant flush using a garden hose, contributing to the overall health and longevity of your vehicle’s cooling system. Remember to always prioritize safety and dispose of old coolant responsibly.