
Can you make your own lawn furniture cushions? Yes, you absolutely can! Making your own lawn furniture cushions is a rewarding project that allows you to customize your outdoor space with personalized comfort and style. This guide will walk you through the entire process, from choosing the best fabric to the final stitch, ensuring you create durable and beautiful DIY outdoor cushions that will last for seasons to come. Whether you’re looking to refresh old furniture or create entirely new seating, sewing patio cushions is a skill that opens up a world of possibilities.
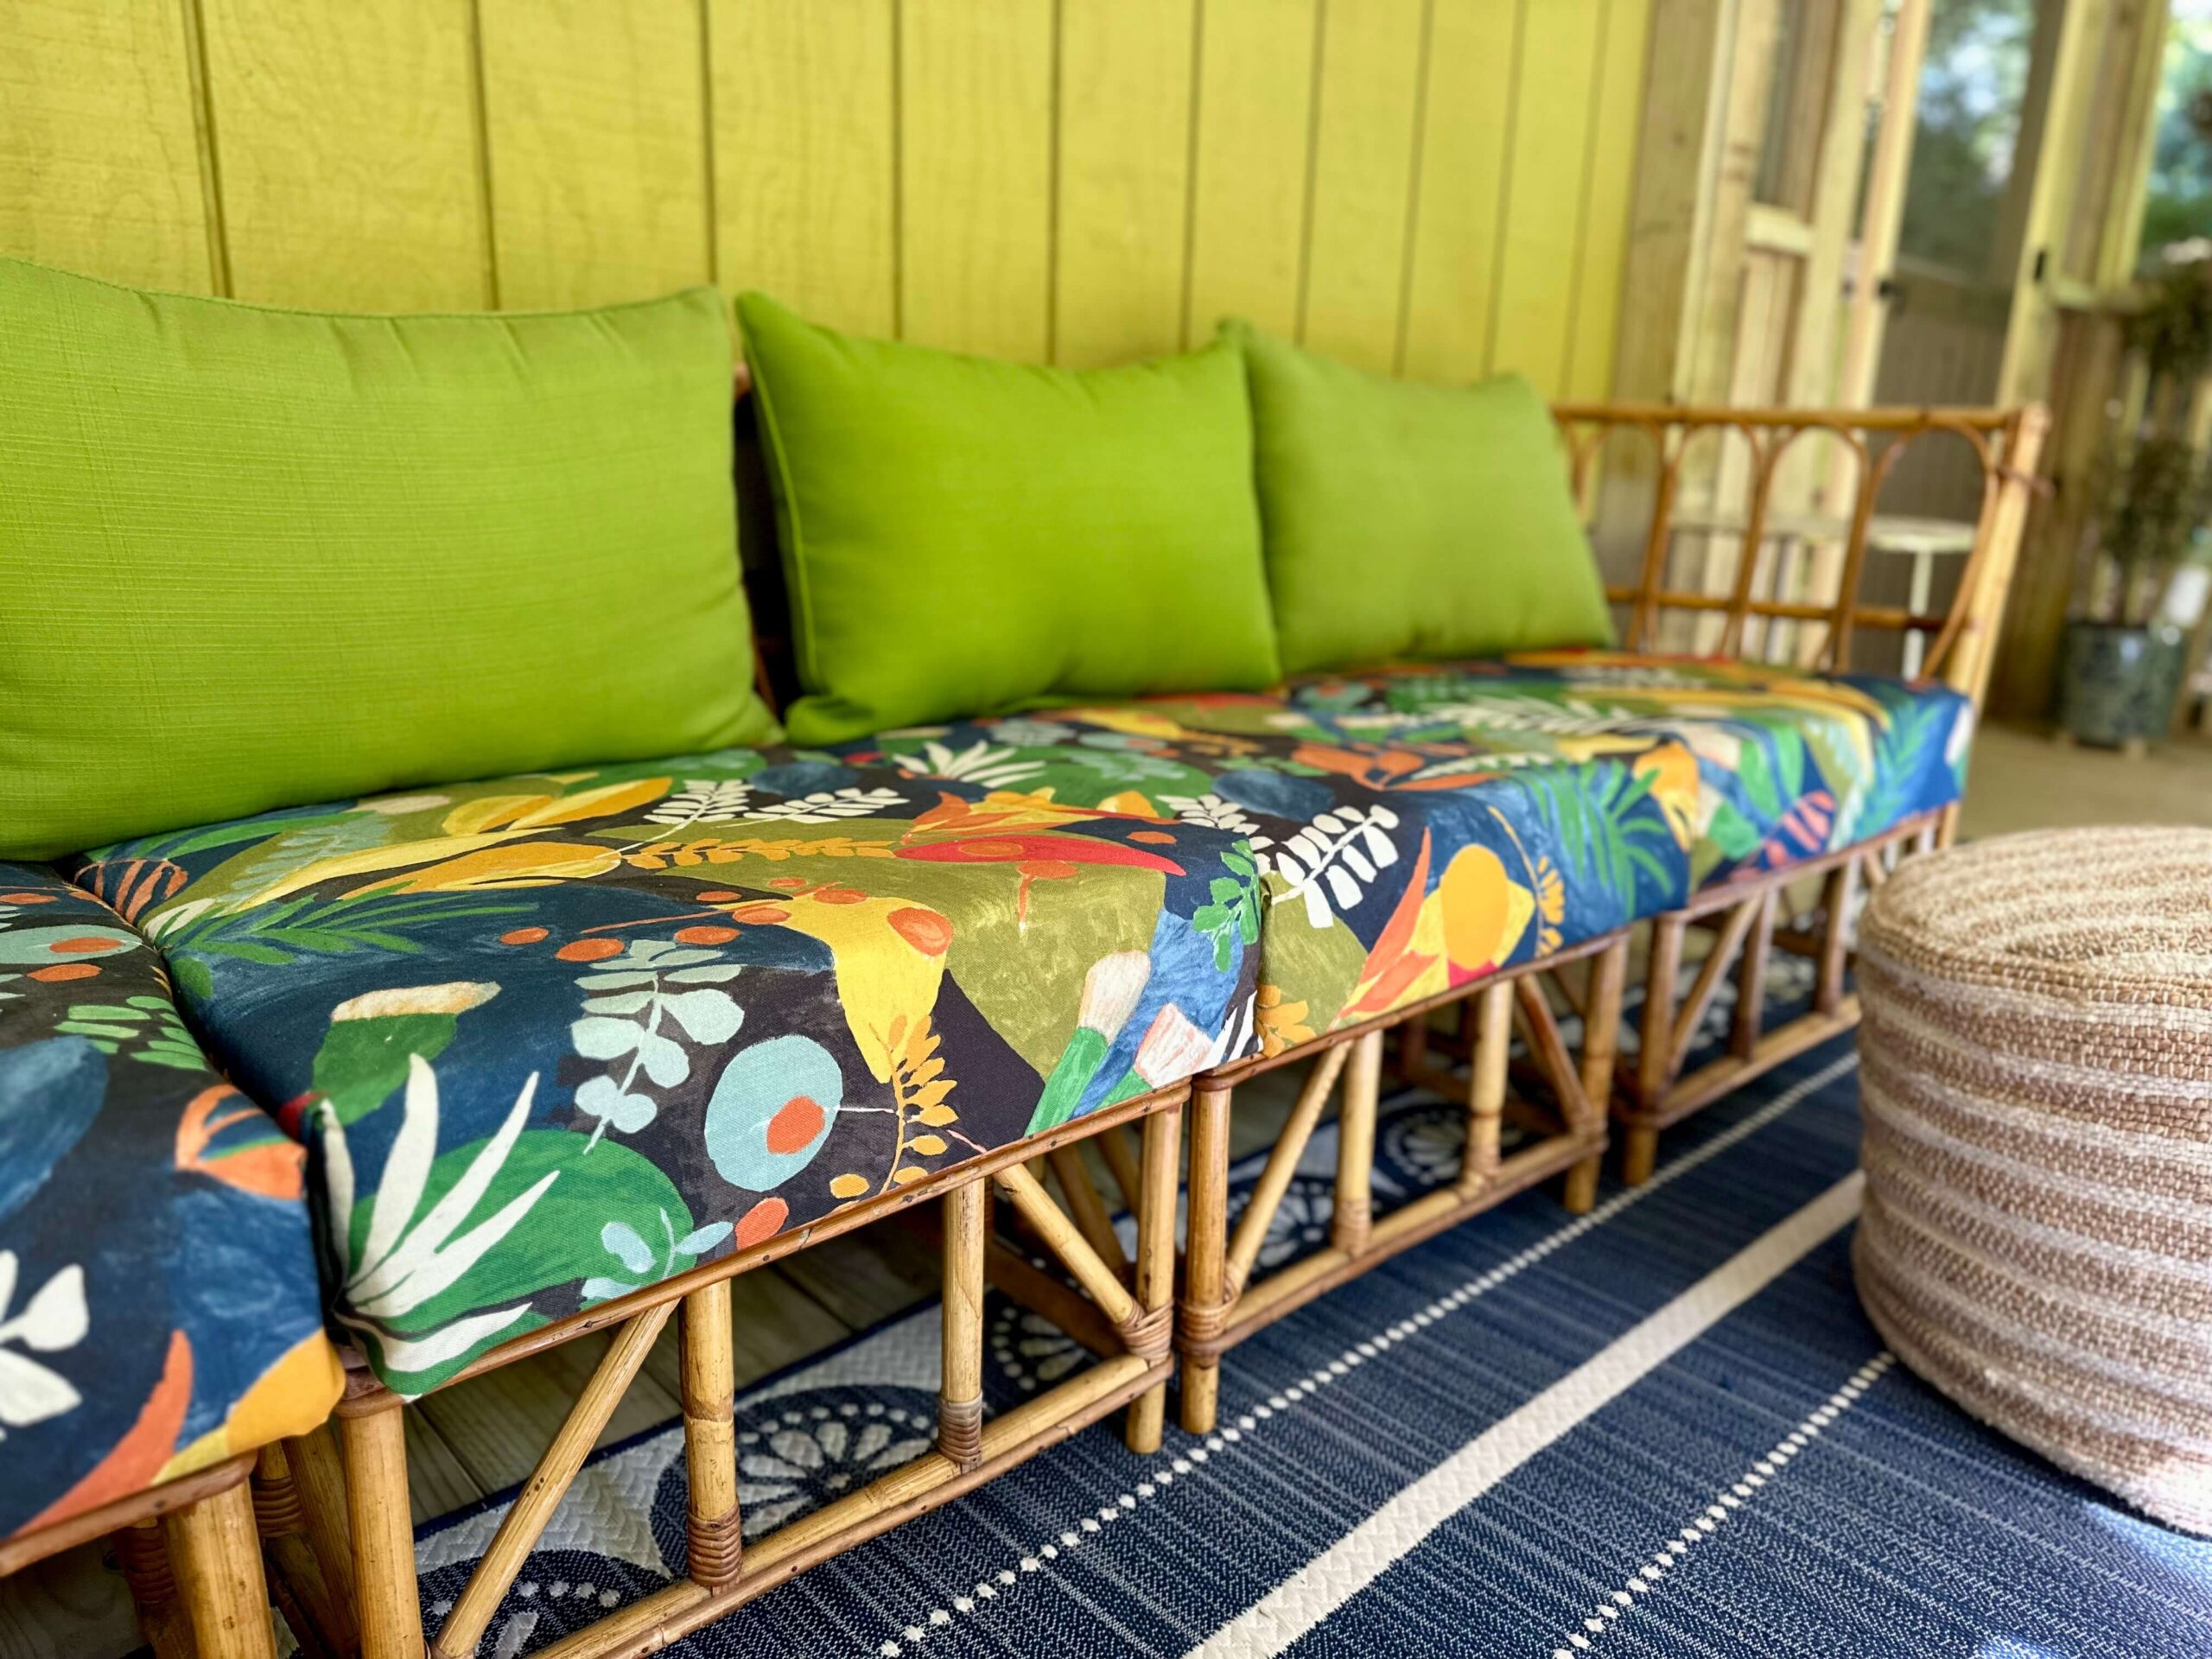
Image Source: alifeunfolding.com
Why Make Your Own Lawn Furniture Cushions?
Creating your own cushions offers several advantages over buying pre-made ones. Firstly, it’s often more economical, especially if you find good deals on fabric. Secondly, you have complete control over the aesthetics – color, pattern, thickness, and shape. This means you can perfectly match your existing decor or create a unique statement piece. Thirdly, you can choose the highest quality materials, ensuring your cushions are not only attractive but also incredibly comfortable and long-lasting. This is especially important for lawn chair cushion replacement, where you might be looking for a specific fit or comfort level.
Choosing the Best Fabric for Outdoor Cushions
The selection of your fabric is crucial for the longevity and appearance of your cushions. You need materials that can withstand sun, rain, and general wear and tear.
Top Fabric Choices
Here are some of the best fabric for outdoor cushions:
- Acrylic Fabrics: Brands like Sunbrella are renowned for their exceptional durability, fade resistance, and mold/mildew resistance. They are often solution-dyed, meaning the color is infused into the fibers, making them highly resistant to fading.
- Polyester Fabrics: High-quality outdoor polyester fabrics are also a great option. Look for those treated with UV inhibitors and water-repellent finishes. They are generally more affordable than acrylics.
- Olefin Fabrics: This synthetic fiber is known for its strength, stain resistance, and quick-drying properties. It’s also a good choice for high-traffic outdoor areas.
Factors to Consider When Selecting Fabric
When choosing your fabric, keep these points in mind:
- Water Resistance: The fabric should ideally be water-repellent or quick-drying. Many outdoor fabrics have a special coating for this purpose.
- UV Resistance: Direct sunlight can cause fabrics to fade and degrade. Look for fabrics with UV protection.
- Mold and Mildew Resistance: Outdoor environments can be damp, leading to mold and mildew. Choose fabrics treated to resist these issues.
- Durability: Consider the weight and weave of the fabric. Heavier, tightly woven fabrics tend to be more durable.
- Cleanability: How easy is it to clean the fabric? Most outdoor fabrics can be spot-cleaned with mild soap and water.
- Comfort: While durability is key, don’t forget comfort. Some fabrics can feel a bit stiff, so consider how the cushion will feel to sit on.
What About Patterns?
When it comes to outdoor cushion patterns, the sky’s the limit! You can find everything from classic stripes and florals to bold geometrics and solid colors. Consider the overall style of your outdoor space.
- Solid Colors: Offer a clean, sophisticated look and are versatile.
- Stripes: Add a nautical or classic touch.
- Florals and Botanicals: Bring a sense of nature and vibrancy.
- Geometrics: Provide a modern and stylish appeal.
Always buy a bit more fabric than your calculations suggest to account for pattern matching and potential mistakes.
Materials You’ll Need
Beyond fabric, you’ll need a few other supplies to create your custom outdoor cushions.
Essential Supplies
- Outdoor Fabric: As discussed above, choose wisely for your needs.
- Cushion Filling:
- Polyester Fiberfill: The most common and affordable option. It’s soft and fluffy.
- Foam: High-density foam provides excellent support and retains its shape well. Outdoor-specific foam is often more resistant to moisture. Consider different thicknesses for varying levels of comfort.
- Heavy-Duty Thread: Polyester or nylon thread is recommended for outdoor use as it’s strong and resistant to UV rays and moisture.
- Zipper (Optional but Recommended): A sturdy, outdoor-rated zipper makes it easy to remove the cover for washing.
- Batting (Optional): A layer of batting can add extra loft and comfort to your cushions.
- Scissors or Rotary Cutter and Mat: For precise fabric cutting.
- Sewing Machine: A sturdy machine capable of handling multiple layers of outdoor fabric.
- Pins or Fabric Clips: To hold fabric pieces together.
- Measuring Tape: For accurate measurements.
- Marking Tool: Fabric chalk or pen.
- Iron and Ironing Board: For pressing seams.
- Optional: Piping or Welting Cord: For a professional, finished edge.
Tools for No-Sew Options
If you’re looking for no-sew outdoor cushions, you’ll still need:
- Fabric Glue or Strong Adhesive: Specifically designed for outdoor fabrics.
- Heavy-Duty Staples or Rivets: For securing fabric edges.
- Fabric Scissors: Sharp scissors are essential for clean cuts.
Planning Your Cushion Project
Before you start cutting and sewing, proper planning is key to achieving a successful outcome.
Measuring Your Furniture
Accurate measurements are the foundation of well-fitting cushions.
How to Measure
- Measure the Seat Dimensions:
- Width: Measure the widest part of the seat.
- Depth: Measure from the front edge to the back edge.
- Height/Thickness: Measure the desired thickness of your cushion. This will determine how much filling you need.
- Measure the Backrest Dimensions (if applicable):
- Width: Measure the widest part of the backrest.
- Height: Measure from the seat to the top of the backrest.
- Depth: Measure how much of the backrest the cushion will cover.
- Account for Ties or Straps: If you plan to add ties to secure the cushions, measure the placement and length needed.
- Add Seam Allowances: For each measurement, you’ll need to add extra fabric for seams. A standard seam allowance for cushions is typically 1/2 inch to 1 inch. If you plan to add piping, add that allowance as well.
Creating Your Cushion Patterns
Once you have your measurements, you can create your outdoor cushion patterns.
Pattern-Making Steps
- Paper Patterns: You can draw your cushion shapes directly onto large sheets of paper (like craft paper or even newspaper taped together). Mark your exact dimensions, then add your seam allowances around the perimeter.
- Cutting Fabric Directly: For simpler shapes like squares or rectangles, you can often calculate the fabric dimensions directly and cut without a separate paper pattern. Just remember to add your seam allowances!
- Templates for Curves or Complex Shapes: If your furniture has rounded corners or unique shapes, you might want to create a template from cardboard or heavy paper first. This ensures symmetry and accuracy.
Estimating Fabric and Filling Needs
- Fabric: Once you have your pattern dimensions, calculate the total square footage of fabric needed. Always buy a little extra to be safe.
- Filling:
- For Foam: Measure the volume of your cushion (Length x Width x Height) in cubic inches or feet. Purchase foam that matches these dimensions.
- For Fiberfill: This is a bit more variable. You’ll need enough to stuff the cushion to your desired firmness. It’s often sold by weight or in bags. It’s usually better to have slightly too much than too little, as you can compress it.
Sewing Your Outdoor Cushions: A Step-by-Step Guide
This section details the process for creating traditional, sewn cushions.
Step 1: Cutting Your Fabric
Lay your chosen outdoor fabric flat, ensuring it’s free of wrinkles. Place your paper patterns or marked measurements onto the fabric. Use your sharp scissors or rotary cutter to carefully cut out the pieces. You will typically need:
- Two Main Pieces: These will form the top and bottom of your cushion.
- A Side Panel (Welt or Gusset): This piece adds thickness and structure to the cushion. Its length will be the perimeter of your cushion (add seam allowances), and its width will be the desired height of your cushion plus seam allowances.
Step 2: Adding a Zipper (Optional but Recommended)
Adding a zipper to one of the side panels or along one edge of the bottom cushion piece makes removing the cover for cleaning much easier.
Zipper Installation
- Prepare the Zipper Opening: On one of the main cushion pieces or a designated side panel, create an opening for the zipper. For a side panel, this usually means sewing a seam partway and stopping. For a main piece, you might create a simple slit.
- Attach the Zipper:
- Place the zipper face down along the prepared opening, aligning the zipper teeth with the raw edge of the fabric.
- Pin the zipper in place.
- Using your sewing machine and a zipper foot, stitch the zipper to the fabric close to the teeth.
- If you’ve created an opening on a main cushion piece, you’ll typically create a “zipper placket” – a strip of fabric that covers the zipper for a cleaner look.
Step 3: Assembling the Cushion Cover
This is where your DIY outdoor cushions start to take shape.
Construction Process
- Attach the Side Panel (Welt):
- If you’re using a separate side panel (welt), you’ll typically sew it to the top cushion piece first. Align the raw edges of the side panel with the raw edges of the top cushion piece, right sides together.
- If you’re using piping, you’ll sew the piping cord to the edge of the top cushion piece using a zipper foot or piping foot.
- Stitch the side panel (or piping) all the way around the top cushion piece, leaving the zipper opening unstitched if it’s integrated into the side.
- Attach the Bottom Cushion Piece:
- Align the raw edges of the bottom cushion piece with the raw edges of the attached side panel (or piping), right sides together.
- Begin stitching from one end of the zipper opening, continuing all the way around the cushion.
- Stop stitching at the other end of the zipper opening.
- Finish Seams: For extra durability and to prevent fraying, consider finishing the raw seams with a zigzag stitch or using a serger if you have one. This is especially important for sewing patio cushions that will be exposed to the elements.
Step 4: Turning and Stuffing the Cushion
- Turn Right Side Out: Carefully turn the cushion cover right side out through the zipper opening. Gently push out all the corners and seams.
- Insert Filling:
- Foam: Slide the foam insert into the cover. Ensure it fits snugly.
- Fiberfill: Start stuffing the fiberfill into the cover, distributing it evenly. Work it into the corners first, then fill the center. Aim for a firm but comfortable density. Don’t overstuff, as this can put too much stress on the seams.
- Close the Zipper: Zip up the cushion cover.
Step 5: Finishing Touches
- Fluff and Shape: Give your cushion a good fluff and shape to ensure an even appearance.
- Add Ties (Optional): If you’re adding ties, stitch them securely to the sides or back of the cushion cover before stuffing or through the cover itself.
Making No-Sew Outdoor Cushions
For those who prefer to avoid extensive sewing, there are simpler methods to create attractive and functional cushions. This is a great option for no-sew outdoor cushions.
Method 1: Fabric Glue and Staples
- Cut Fabric: Cut your fabric pieces slightly larger than your foam insert, allowing about 3-4 inches extra on each side for wrapping and securing.
- Wrap the Foam: Place your foam on the wrong side of your fabric. Start by wrapping the fabric tightly over one edge of the foam and securing it to the back using strong fabric glue or heavy-duty staples.
- Continue Wrapping: Pull the fabric taut across the foam and secure the opposite side. Then, work on the remaining sides, pulling the fabric smoothly and creating neat folds or pleats at the corners.
- Secure Corners: The corners are the trickiest part. You can fold them neatly like wrapping a gift, applying glue or staples generously to hold them in place.
- Trim Excess: Once the glue is dry and staples are secure, trim any excess fabric that might get in the way.
Method 2: Using Existing Cushions (Reupholstering)
This is a fantastic way to refresh old outdoor furniture and is essentially a form of reupholstering lawn chairs.
- Remove Old Cushion: Carefully remove the old cushion from the chair.
- Disassemble Old Cover (if possible): If the old cover has a zipper or can be carefully unpicked, do so to use the old cover as a template.
- Create New Pattern: Lay the old cover flat and use it as a pattern, or measure your foam insert and add seam allowances as described previously.
- Cut New Fabric: Cut your new outdoor fabric according to your pattern.
- Attach New Fabric:
- Sewn Method: Follow the sewing steps outlined above, using the old cover as a guide for zipper placement and dimensions.
- No-Sew Method: Wrap your new fabric around the foam insert, securing it with fabric glue or staples to the underside of the foam or a backing board if you have one. This works best for cushions that have a very defined shape or are attached to a frame.
Adding Comfort and Durability Features
Elevate your cushions with these enhancements.
Adding Piping or Welting
Piping adds a decorative, finished edge and can help cushion edges withstand more wear.
Piping Application
- Make Piping: You’ll need bias tape or fabric cut on the bias. Wrap it around a cord (like clothesline or upholstery cording) and stitch close to the cord.
- Attach Piping: Pin the raw edge of the piping to the right side of the fabric along the seam line. Use a zipper foot or piping foot to stitch it in place.
- Join Pieces: When joining pieces of piping around corners, make clean cuts and overlap the ends neatly.
Creating Ties
Ties are essential for keeping cushions securely in place on outdoor furniture.
Tie Attachment
- Cut Fabric Strips: Cut strips of fabric (about 1-2 inches wide and 18-24 inches long, depending on your needs).
- Fold and Sew: Fold each strip in half lengthwise, right sides together, and sew along the long edge to create a tube. Turn the tubes right side out.
- Attach Ties:
- Sewn Cushions: Before sewing the cushion cover pieces together, insert the ties between the layers of fabric at the desired locations, ensuring the loop of the tie is facing inwards. Stitch them securely into the seam.
- No-Sew Cushions: Once the cushion is covered, you can attach ties to the underside using strong fabric glue or staples.
Adding Batting
A layer of batting can make your cushions feel plusher and more luxurious.
Batting Usage
- Cut Batting: Cut a piece of batting to the same size as your cushion.
- Layer: Place the batting directly on top of your foam insert before placing it into the cover, or layer it between the foam and the cover.
- Sewing: If sewing, you can lightly tack the batting to the foam or the inside of the cushion cover to keep it from shifting.
Caring for Your Outdoor Cushions
Proper care will extend the life and beauty of your handmade cushions.
Cleaning and Maintenance
- Regular Brushing: Brush off loose dirt and debris regularly.
- Spot Cleaning: For spills and stains, use a mild soap and water solution. Apply with a soft cloth or sponge, gently blot the stain, and rinse with clean water.
- Deep Cleaning: Some outdoor fabrics can be removed and washed according to the manufacturer’s instructions. Check the fabric care label.
- Mold and Mildew Prevention: Store cushions in a dry place during prolonged periods of rain or when not in use. Ensure they dry thoroughly if they get wet. A solution of one part bleach to ten parts water can sometimes be used to treat mold or mildew, but always test in an inconspicuous area first.
Storage
- During Off-Season: Store your cushions indoors in a dry, well-ventilated area. Cushion storage bags or bins are ideal for protecting them from dust, moisture, and pests.
- During Inclement Weather: Even durable outdoor cushions benefit from being brought indoors or covered during heavy rain or storms.
Frequently Asked Questions (FAQ)
Q1: What is the best thread to use for outdoor cushions?
A1: For outdoor cushions, it’s best to use a heavy-duty polyester or nylon thread. These threads are specifically designed to withstand UV exposure, moisture, and general wear and tear better than standard cotton threads.
Q2: Can I use regular sewing machine needles for outdoor fabric?
A2: While you might be able to with thinner outdoor fabrics, it’s highly recommended to use a heavy-duty needle, such as a denim or leather needle, especially if your fabric is thick or has a tight weave. This will prevent skipped stitches and needle breakage.
Q3: How do I make my cushions waterproof?
A3: While many outdoor fabrics are water-repellent, achieving true waterproofing usually involves a combination of the fabric’s inherent properties and potentially a fabric sealant spray. Ensure your seams are well-sealed, and consider using a waterproof liner inside the cushion cover if you need maximum protection.
Q4: What is the difference between Sunbrella fabric and other outdoor fabrics?
A4: Sunbrella is a brand of premium acrylic fabric known for its exceptional durability, fade resistance, mold and mildew resistance, and stain resistance. It’s often solution-dyed, meaning the color is infused into the fibers, making it highly resistant to fading from UV rays. While other outdoor fabrics can be good, Sunbrella generally offers superior performance and longevity, albeit at a higher price point.
Q5: How do I ensure my cushions are comfortable?
A5: Comfort depends on the filling and thickness. For softer seating, use ample polyester fiberfill, ensuring it’s evenly distributed. For firmer support that retains its shape, high-density foam is an excellent choice. You can also layer batting over foam for added plushness. The thickness of your cushion also plays a significant role in comfort.
Q6: What are the advantages of using zippers on outdoor cushions?
A6: Zippers are a major advantage because they allow you to easily remove the cushion cover for washing or to replace the filling if it becomes damaged or compressed. This makes maintenance and longevity much more manageable.
Q7: Can I make outdoor cushions without a sewing machine?
A7: Yes, you can make no-sew outdoor cushions using strong fabric glue, fabric adhesive, or heavy-duty staples. This method is often used for simpler shapes or for reupholstering existing cushions where the fabric can be pulled taut and secured to the underside of the foam or a backing.
Q8: How thick should outdoor cushions be?
A8: The ideal thickness depends on the furniture and your preference. For most patio chairs, a thickness of 2-4 inches provides good comfort. For deeper seating like sectionals or lounge chairs, 4-6 inches or more might be desirable. Always consider the original design of the furniture to ensure a proper fit.
By following this comprehensive guide, you can confidently create beautiful, comfortable, and durable DIY outdoor cushions that will transform your patio or garden into an inviting oasis. Enjoy your custom-made comfort!