
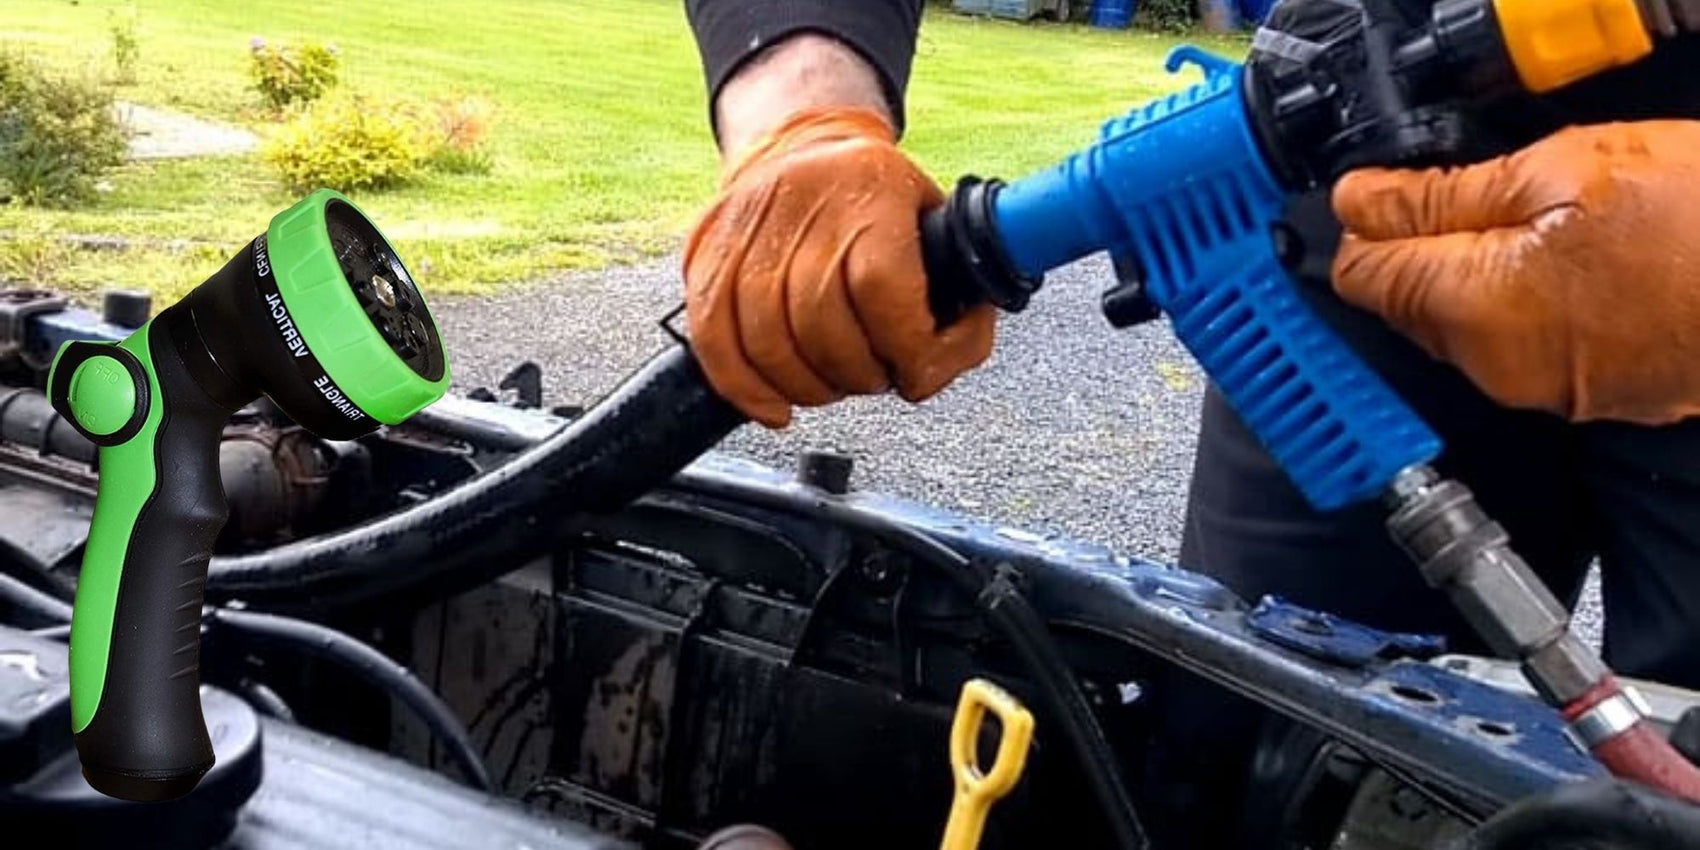
Image Source: royalhousegarden.com
How To Flush Radiator With Garden Hose Safely and Effectively
Can you flush your car’s radiator with a garden hose? Yes, you can flush your car’s radiator with a garden hose, and it’s a common and cost-effective method for radiator maintenance. This guide will walk you through the entire radiator flush procedure, ensuring you can safely and effectively clean your automotive radiator and maintain your water cooling system.
A healthy cooling system is vital for your car’s engine to run smoothly. Over time, sediment, rust, and old coolant can build up inside your radiator and throughout the engine block. This buildup can restrict coolant flow, leading to overheating. A regular coolant flush is a crucial part of preventative maintenance for your vehicle’s radiator. This process removes contaminants and allows for fresh coolant to circulate, protecting your engine from damage.
Why Flush Your Radiator?
Your car’s cooling system works hard to keep the engine at an optimal operating temperature. It circulates a mixture of antifreeze and water, often called coolant. This coolant absorbs heat from the engine and dissipates it through the radiator. However, as coolant ages, it breaks down. Additives within the coolant that prevent corrosion and rust can become depleted. Simultaneously, small particles of metal, gasket material, and other debris can enter the system.
When these contaminants accumulate, they can form a sludge that clings to the inner walls of the radiator, heater core, and engine passages. This sludge acts like an insulator, reducing the efficiency of heat transfer. Consequently, the engine can run hotter than it should. Overheating can cause severe engine damage, including warped cylinder heads, blown head gaskets, and even a seized engine.
A proper radiator cleaning, often referred to as a coolant flush, removes this harmful buildup. It’s like giving your engine’s circulatory system a good cleaning. This not only prevents overheating but can also improve the efficiency of your heater in the winter months, as the heater core is part of the same cooling circuit.
When Should You Flush Your Radiator?
The frequency of a coolant flush depends on several factors, including:
- Vehicle Manufacturer Recommendations: Always consult your car’s owner’s manual for the recommended service intervals for your specific model.
- Coolant Type: Different types of coolant have different lifespans. Traditional green ethylene glycol coolants typically last about 2-3 years or 30,000-50,000 miles. Newer extended-life coolants (often orange, pink, or blue) can last much longer, up to 5 years or 100,000 miles.
- Driving Conditions: If you frequently drive in extreme conditions (e.g., heavy stop-and-go traffic in hot weather, towing heavy loads, or driving in very cold climates), your coolant may degrade faster.
- Visual Inspection: If the coolant in your reservoir appears dirty, discolored, or has debris floating in it, it’s a strong indicator that a flush is needed, regardless of the mileage.
As a general guideline, a coolant flush every 30,000 to 50,000 miles or every two to three years is a good practice for most vehicles. This proactive approach to radiator maintenance can save you from costly repairs down the line.
Tools and Materials You’ll Need
Before you begin the radiator flush procedure, gather all the necessary tools and materials:
- Safety Glasses: Essential to protect your eyes from hot or corrosive coolant.
- Heavy-Duty Gloves: Protect your hands from hot surfaces and coolant chemicals.
- Drain Pan or Bucket: A large capacity pan (at least 2-3 gallons) to catch the old coolant.
- Garden Hose: With a water source.
- Distilled Water: Crucial for flushing and mixing with new coolant. Tap water can contain minerals that can cause deposits in the cooling system.
- New Coolant: The correct type and amount for your vehicle. Check your owner’s manual.
- Funnel: For refilling the radiator.
- Pliers or Adjustable Wrench: To loosen hose clamps.
- Screwdriver (Flathead or Phillips): Depending on your hose clamp type.
- Rags or Shop Towels: For cleaning up spills.
- Optional: Radiator Flush Solution: Commercial flushing agents can help break down stubborn deposits.
- Optional: Distilled Water Container: A separate container to fill your hose with distilled water for the final rinse.
Preparing for the Radiator Flush
Safety is paramount when working with a car’s cooling system, as hot coolant can cause severe burns. Proper preparation ensures a smooth and safe process.
- Ensure the Engine is Cool: Never attempt to drain or flush a hot engine. The cooling system is pressurized when hot, and opening it can cause scalding coolant to spray out. Let the engine cool down completely. This could take several hours after driving.
- Locate the Radiator Drain Plug: Most radiators have a drain plug or petcock at the bottom. It’s usually a plastic or metal valve. If your radiator doesn’t have a drain plug, you’ll drain it by loosening the lower radiator hose.
- Position the Drain Pan: Place your drain pan directly beneath the drain plug or the lower radiator hose. Ensure it’s large enough to hold all the old coolant.
- Open the Hood: This allows for better access and ventilation.
- Open the Radiator Cap (Carefully): Once the engine is cool, slowly twist the radiator cap counter-clockwise to release any residual pressure. Be prepared for a slight hiss of air. Never open the cap on a hot engine.
Step-by-Step Radiator Flush Procedure
Now that you’re prepared, let’s get to the actual process of flushing the radiator.
Step 1: Draining the Old Coolant
- If your radiator has a drain plug: Place your drain pan under the plug. Carefully turn the drain plug counter-clockwise using pliers or a wrench. If it’s a petcock, you might be able to turn it by hand or with a screwdriver. Let the old coolant drain completely into the pan. Once drained, you can lightly close the plug.
- If your radiator does not have a drain plug: You will need to disconnect the lower radiator hose. This hose connects the bottom of the radiator to the engine. Locate the clamp holding the hose to the radiator. Use pliers or a screwdriver to loosen the clamp. Then, carefully pull the hose off the radiator outlet. Be ready for coolant to flow out immediately. Direct the flow into your drain pan.
Once the old coolant is mostly drained, you might want to drain radiator from the engine block as well. Some vehicles have drain plugs on the engine block itself, which can capture additional old coolant and sediment. Consult your owner’s manual to see if your vehicle has these and how to access them.
Step 2: Flushing with Water
This is where the garden hose comes into play for the flush cooling system operation.
- Connect the Garden Hose: With the drain plug closed or the lower radiator hose reconnected (temporarily), attach your garden hose to the radiator filler neck. Some people use a special adapter that screws into the radiator neck to secure the hose.
- Turn on the Water: Turn on the water supply slowly. Allow the water to flow into the radiator.
- Open the Drain Plug/Loosen Lower Hose: Now, reopen the drain plug or loosen the lower radiator hose again. As water flows in, it will push out the remaining old coolant and any loose debris.
- Continue Flushing: Let the water run through the system until it comes out clear. This might take some time. You might need to run the engine for a few minutes during this stage to help circulate the water and dislodge more contaminants.
- Important: When running the engine with plain water, do not let it overheat. Keep an eye on the temperature gauge. You may need to turn the heater on to its highest setting to help circulate the water through the heater core as well.
- Repeat if Necessary: If the water still comes out discolored after a few minutes, you can shut off the water, close the drain, and refill with fresh distilled water. Run the engine again for a few minutes, then drain and flush with water until it runs clear. This is the core of the radiator cleaning process.
Step 3: Using a Radiator Flush Solution (Optional but Recommended)
For a more thorough cleaning, especially if your coolant was particularly dirty or if you suspect significant buildup, using a commercial radiator flush solution is highly recommended.
- Add Flush Solution: After draining the initial old coolant, add the radiator flush solution to the radiator filler neck.
- Fill with Distilled Water: Fill the system with distilled water.
- Run the Engine: Reconnect the lower radiator hose if you disconnected it. Start the engine and let it run for the time specified on the flush solution’s instructions (usually 10-20 minutes). Turn the heater on to high. This allows the solution to circulate and break down internal deposits.
- Drain and Flush Again: Once the recommended time has passed, shut off the engine and allow it to cool. Drain the system as described in Step 1. Then, proceed with flushing with plain distilled water until the water runs completely clear. This step is crucial for removing all traces of the flush solution and loosened debris. You want to flush engine coolant thoroughly to avoid mixing old and new.
Step 4: Refilling the Radiator
This is the final stage where you refill radiator with the correct coolant mixture.
- Close the Drain Plug/Reconnect Hose: Ensure the drain plug is securely closed or the lower radiator hose is reconnected and the clamp is tightened firmly.
- Mix Coolant (If Necessary): Most modern coolants come pre-mixed at a 50/50 ratio of antifreeze to distilled water. If you bought concentrated coolant, you’ll need to mix it with distilled water in a clean container. Always use distilled water. Check your owner’s manual for the correct mixture ratio for your climate.
- Fill the Radiator: Using a funnel, slowly pour the new coolant mixture into the radiator filler neck until it reaches the top.
- Fill the Coolant Reservoir: Most vehicles also have a separate plastic coolant reservoir (overflow tank). Fill this reservoir to the “COLD” fill line.
- Start the Engine: Start the engine and turn the heater on to its highest setting.
- Bleed the System: As the engine warms up, the thermostat will open, and the coolant will start circulating through the system, including the heater core. You may hear gurgling sounds as air pockets are pushed out. Keep the radiator cap off for a few minutes as you monitor the coolant level. Add more coolant if the level drops significantly. You may need to gently squeeze the upper radiator hose to help dislodge air bubbles.
- Replace Radiator Cap: Once the engine has reached operating temperature and the coolant level has stabilized, replace the radiator cap securely.
- Check for Leaks: Inspect all hoses, clamps, and the drain plug for any signs of leaks.
Step 5: Final Checks and Monitoring
After completing the coolant flush, it’s important to monitor the system.
- Check Coolant Level: After the engine has cooled down completely, check the coolant level in both the radiator (carefully open the cap) and the reservoir. Top off if necessary with the correct coolant mixture.
- Monitor Temperature Gauge: Keep an eye on your car’s temperature gauge for the next few drives. If the engine temperature starts to climb abnormally, shut it off and re-check the coolant level and for any leaks.
- Clean Up: Dispose of the old coolant properly. Never pour it down the drain or onto the ground, as it is toxic. Many auto parts stores accept used coolant for recycling. Clean up any spills.
Table: Common Coolant Types and Their Lifespans
| Coolant Type | Typical Color(s) | Service Interval (Miles) | Service Interval (Years) |
|---|---|---|---|
| Traditional (IAT – Inorganic Additive Technology) | Green | 30,000 – 50,000 | 2 – 3 |
| O.A.T. (Organic Acid Technology) | Orange, Red | 100,000 – 150,000 | 5 |
| P-HOAT (Phosphate Hybrid OAT) | Pink, Red, Orange | 100,000 – 150,000 | 5 |
| Si-OAT (Silicate Hybrid OAT) | Blue, Purple | 100,000 – 150,000 | 5 |
Note: Always confirm the correct coolant type and interval for your specific vehicle in its owner’s manual. Mixing coolant types can be detrimental to your cooling system.
Frequently Asked Questions (FAQ)
Q1: How much coolant do I need for a flush?
A1: The amount of coolant needed depends on your vehicle’s cooling system capacity. Typically, it’s around 1 to 2 gallons for most cars. Your owner’s manual will specify the exact capacity. It’s always best to have a bit extra on hand.
Q2: Can I use tap water to flush my radiator?
A2: It is strongly discouraged. Tap water contains minerals and chemicals that can leave deposits and cause corrosion within your cooling system over time, defeating the purpose of the flush. Always use distilled water.
Q3: My car’s heater isn’t working well. Could a radiator flush help?
A3: Yes, a clogged radiator or heater core can significantly reduce heater performance. Flushing the system can remove the buildup that’s restricting hot coolant flow to the heater core, potentially restoring its functionality.
Q4: How do I know if I need to flush my radiator if the coolant looks okay?
A4: Even if the coolant looks clean, the protective additives can degrade over time, leaving your engine vulnerable to corrosion. Following the manufacturer’s recommended service interval (miles or years) is the most reliable way to ensure your cooling system remains protected.
Q5: Is there a risk of damaging my car by flushing the radiator myself?
A5: If done carefully and following the steps outlined, there’s minimal risk. The main dangers involve working with a hot engine or improperly disposing of old coolant. Always ensure the engine is cool and dispose of old coolant responsibly.
Conclusion
Performing a radiator flush with a garden hose is a manageable and cost-effective way to maintain your vehicle’s cooling system. By following these detailed steps, you can safely drain radiator, effectively flush cooling system components, and ensure your automotive radiator operates efficiently. Regular radiator maintenance, including periodic coolant flushes, is essential for preventing costly engine damage caused by overheating and corrosion. Remember to always use the correct type of coolant and distilled water, and dispose of old coolant properly. A clean and well-maintained cooling system means a healthier, longer-lasting engine for your vehicle.